Pan-seared Ahi Tuna with Wasabi Vinaigrette

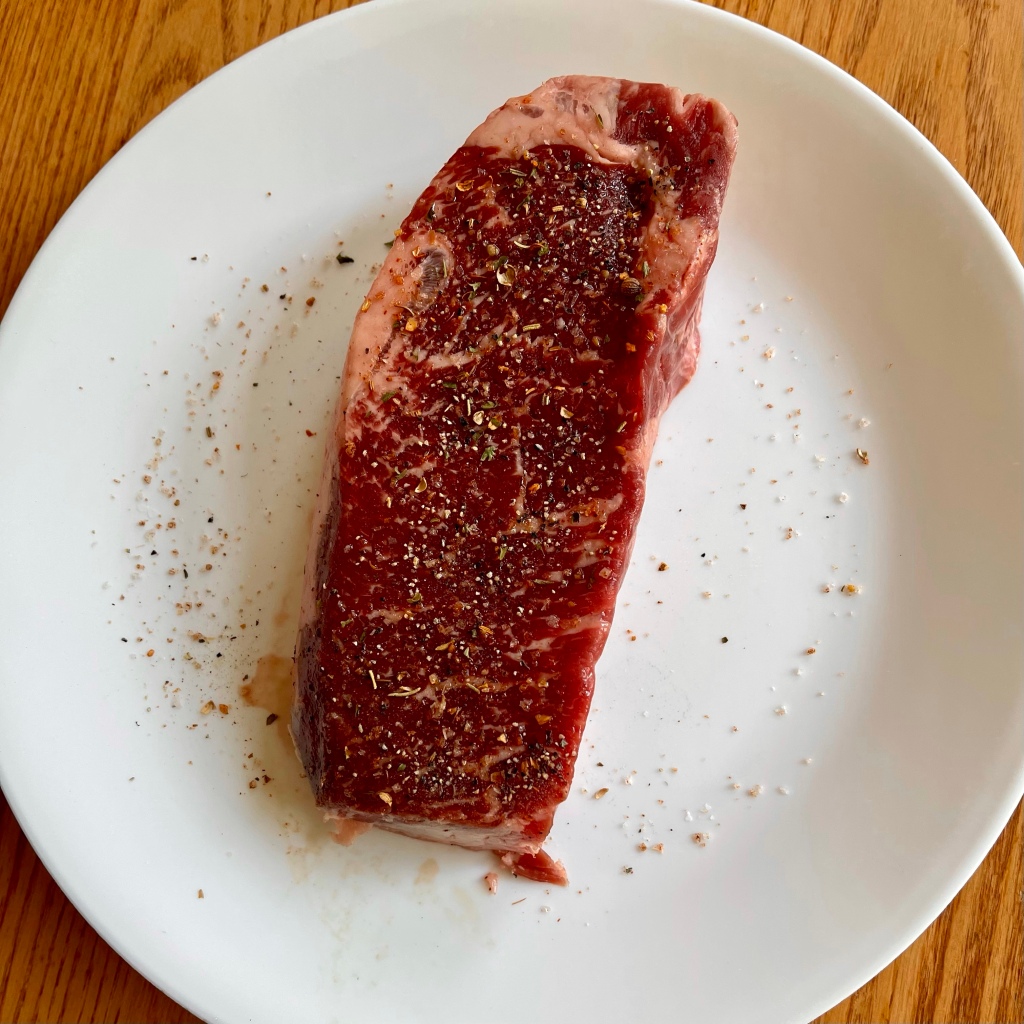
The fish monger at our local Sunday morning farmers market has been carrying fresh ahi tuna. We always enjoy fresh tuna for a delightful light Sunday supper that’s quick and easy to prepare. We’ve been enjoying the tuna with a simple wasabi vinaigrette dressing. Be sure you buy only the freshest high-quality tuna as this recipe only lightly pan-sears it.

Preparation is fast and easy – prepare the vinaigrette, dip the tuna into it and then quickly pan-sear it.

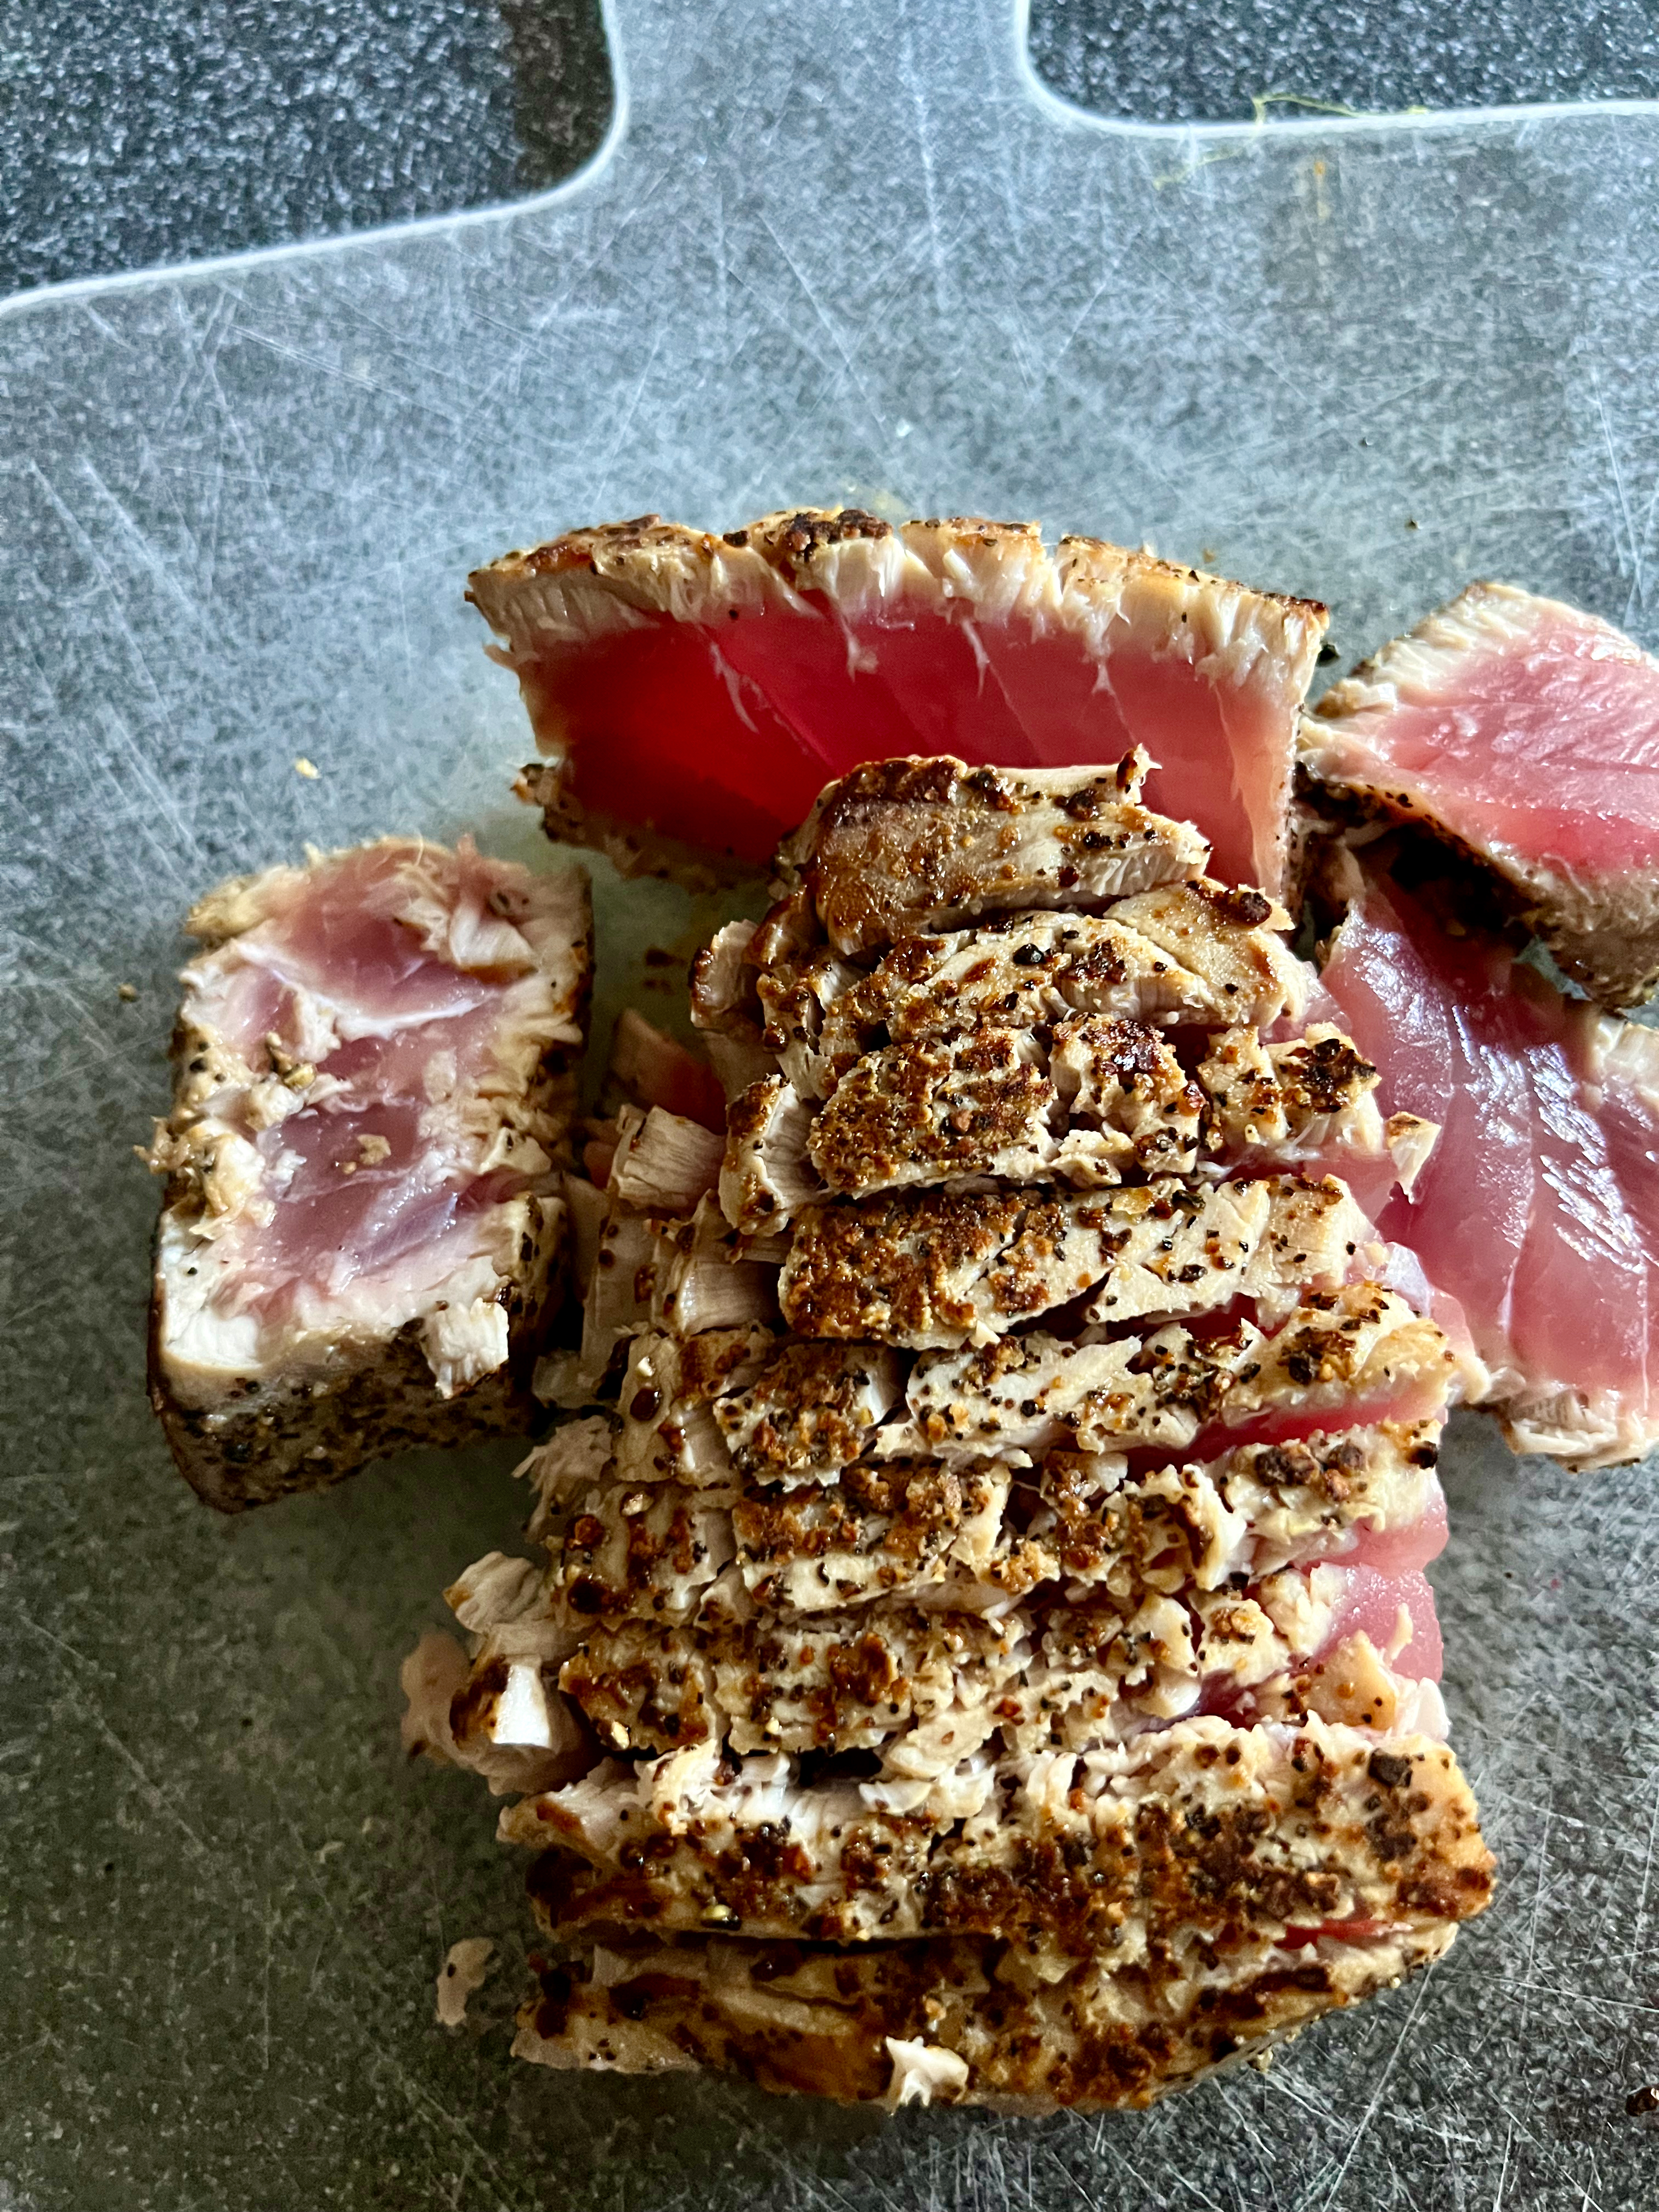
A quick and easy recipe for pan-searing fresh ahi tuna flavored with a wasabi-based vinaigrette.


Ingredients

  • 1 Ahi Tuna Steak (we prefer 0.8 lbs for two people – make sure the tuna is very fresh and of highest quality!)
  • 
1 tbsp Black Pepper
  • 
1 tsp Kosher Salt
  • Wasabi Vinaigrette:

  • 1 tbsp Olive Oil

  • 1 tbsp Soy Sauce
  • 
1 tbsp Apple Cider Vinegar

  • 1 tsp Wasabi Paste

  • 1/2 tsp Sesame Oil

  • 1/2 tsp Lemon Juice

Directions

  1. In a small bowl large enough to hold the tuna, prepare the wasabi vinaigrette and coat the tuna with it. Liberally season the tuna with salt and fresh ground pepper.
  2. Heat a small sauce pan on high and then add the tuna.
  3. Quickly sear the tuna for 2 mins – then flip and sear for 2 mins on the other side.
  4. Remove from pan and immediately slice thinly. Serve quickly with additional soy sauce and wasabi in a small dish. Use your chopsticks!

Enjoy!…

Roasted Strawberries Galore!

This is a wonderful time of year at our local farmers markets – the fruits and vegetables are at the height of their ripeness with flavors so good and tasty. It’s peak flavor season now for these local strawberries so last week I picked up some at one of our markets – three baskets worth.

Roasted Strawberries

The problem with strawberries – if it’s really a problem?! – is how quickly they can turn soft, mushy and spoil. Keeping them in the refrigerator doesn’t really solve the problem – unlike for most other fruits and vegetables.

The next morning after I had brought home my generous load of strawberries, I coincidentally received an email from Jacobsen Salt Co. with a recipe for roasting strawberries – what a great idea! We’re fans of Jacobsen’s many salts which originate from Netarts Bay on the Oregon Coast (see their story). We also really enjoy Jacobsen’s steak seasoning – it’s perfect to use with our New York steak recipe.

But back to the strawberries and Jacobsen’s recipe suggestion: Roasted Strawberries with Crème Fraîche and Flaky Sea Salt. Basically, the recipe (credited to Rebekah Peppler) involves slicing the larger berries, tossing with 2-3 Tbsp of sugar, and a bit of water into a baking dish then into a 375 degree oven for 30-40 minutes. Let the mixture cool, sprinkle with a bit of sea salt and you’ve got a delicious strawberry topping to go over vanilla bean ice cream, yogurt, etc. Save leftovers in the refrigerator – you’ll have a day or two more of delicious desserts!

Thanks to Jacobsen Salt Co. for this delicious and timely recipe!

Easy New York Steak on the Stove

We enjoy charcoal grilled steak – or burgers – but sometimes it’s just too much of a hassle to get the Weber fired up for only cooking a steak. Our reliable fallback method is to simply cook the steak on our gas stovetop. Here’s our easy method for cooking a delicious steak on the stove – along with a couple of side dishes. Cooking should take you about 15-20 minutes.

We usually buy a 1 lb New York steak which we will split into two portions. It’s important to take the steak out of the refrigerator 30 minutes before cooking to let it come up to room temperature. Here’s a NY steak – seasoned and resting to warm up a bit:

New York Steak

To cook the steak, I like to use the 3-3-2-2 method popularized by Rob Leavitt. Heat the pan using medium-high heat. Cook the steak 3 minutes on the first side, then flip and cook 3 minutes on the other side. Then flip again to cook for 2 minutes and a final flip to cook for 2 minutes. Check the steak with a meat thermometer to be sure it’s at your desired doneness level – then remove it from the pan to a cutting board and let rest for 5 minutes. You can then either cut the steak into two pieces – or – slice it and serve all of the slices communally on a plate.

We like to either sauté fresh baby spinach or cook a russet potato in the microwave to accompany our steak. Sometimes we even have both!

Sautéed spinach is easy: in a large skillet heat a bit of olive oil and then toss in the spinach. We typically use a half of one of the large baby spinach containers for dinner for two. While the spinach is sautéing, add in a touch of minced garlic and a splash of lemon juice. I usually start the spinach sautéing a minute or two after firing the steak.

A baked potato cooks in about six minutes on high in our microwave. Poke a few holes in the potato and wrap it in a paper towel before putting in it a cereal bowl and then into the microwave.

[Originally posted: May 14, 2021]

Saturday Afternoon Tomato-Onion Soup

Here’s a great tomato-onion soup dish I made this afternoon after having a wonderful similar soup last week at Biba’s Ristorante in Sacramento! This takes some time but doesn’t require constant attention – ideal for a lazy afternoon where you might be reading or working on other things as well!

Try serving it with a piece or two of cheese toast! And, like great pot roast, this soup is even better warmed up the next day! It’s truly a treat and much more fun and tasty than just onion soup.


Ingredients

  • 5 yellow onions, sliced
  • 1 can diced tomatoes – 28 oz (I prefer Muir Glen organic)
  • 1 qt vegetable broth
  • 2 Tbsp olive oil
  • Salt, pepper to taste

Directions

  1. In large pot heat olive oil and add onions. Medium heat.
  2. After 10 minutes stir, turn heat to low and cover for 20 minutes. Onions should be beginning to carmelize.
  3. Uncover and sir periodically. About 40-45 minutes total.
  4. 4, Add diced tomatoes and vegetable broth. Bring to boil. Reduce heat to low and simmer for 30-40 minutes before serving.

First posted: January 18, 2020

Scott’s Slow Oven-Roasted Tri-Tip

The most popular recipe on ScottsKitchen.com has been my 2005 recipe for oven roasted tri-tip roast. I’ve made tri-tips with that recipe dozens of times (or so it seems!).

More recently, I’ve re-discovered the tenderness benefits of slow roasting beef. There’s another recipe here (2009 Recession-Era Slow-Roasted Roast Beef) that demonstrates that technique. Turns out that technique is used by deli’s to make their roast beef for slicing and sandwiches. It both minimizes the weight loss from cooking the beef plus it allowed cheaper cuts of beef to be used as well.

Turns out that slow roasting can be useful with tri-tip roasts as well. My version using this process follows below. Give it a try and let me know how it works for you!

Ingredients

  • 2.5 to 3 lb tri-tip roast
  • 2 Tbs olive oil or other cooking oil
  • Plenty of salt and fresh ground pepper

Directions

  1. About 30 minutes ahead of time, bring the tri-tip out of the refrigerator to allow it to begin warming.
  2. About 15 minutes ahead of time, pre-heat the oven to 350 degrees.
  3. Add 2 tablespoons of olive oil or other cooking oil to a large, heavy ovenproof pan. Heat pan on high.
  4. When the pan is very hot, add the tri-tip, fat side down. Turn heat to medium-high and sear roast for about 4 minutes. Turn the roast and put the pan with the tri-tip into the oven.
  5. Immediately turn the oven down to 225 degrees. Cook roast for about 15 minutes a pound, checking with an instant-read thermometer after 30 minutes. When it reaches 130 degrees it’s medium-rare and time to take the pan out of the oven.
  6. Remove tri-tip to cutting board. Wrap tri-tip in aluminum foil and leave for 10-15 minutes to allow the juices to settle.
  7. Remove tri-tip from the foil and thinly slice it against the grain (in other words, across the grain). Serve on a platter – BBQ sauce or steak sauce totally optional.

(Added: December 17, 2019; Updated: December 24, 2020)

Tri-tip ready for the oven

In the oven-proof skillet about to go into the oven at 350 degrees – and immediately turned down to 225 degrees.

Sliced slow-roasted tri-tip ready to eat – delicious!

Note the beautiful color that this slow roasting technique produces!

Welcome Back!

I’m very pleased to have brought this site – my recipe/cooking blog – back to life after a couple of years of neglect!

The old standby recipes are still here in a freshened up wrapper with this new design and hosting setup. FYI, far and away the most popular recipe here over the years has been my ‘Lazy-S Tri-Tip‘ recipe. Another surprisingly popular article describes how to use the Williams-Sonoma Cooking Probe Thermometer. Finally, there’s the most recent recipe from 2018 about making delicious short ribs.

I’m looking forward to getting back into more posting here in 2020! Meanwhile, lots of holiday cooking ahead – enjoy yours!

Scott’s 2018 Short Ribs

This is a perfect recipe for a lazy Sunday afternoon – serving two or with guests serving four! The short ribs need about 3 hours to cook – so start around 2 PM and you’ll be ready for a great dinner about 5:30 or 6 PM.

The inspiration for this recipe came from chef Marcus Samuelsson’s Obama’s Short Ribs recipe as described in the New York Times – and it’s also in the chef’s Red Rooster Cookbook – The Story of Food and Hustle in Harlem.

I’ve made several modifications – basically to make it simpler and easier. I usually try to rework recipes that use amounts of ingredients that result in wasting portions that you might buy in standard size packages. So, I adjusted – and simplified – and the result was great!

Ingredients

  • 4 to 6 (6-ounce) bone-in short ribs (about 2.5 to 3.5 lbs)
  • Salt and freshly ground black pepper
  • 2 tablespoons vegetable oil
  • 14.5 oz package of Mirepoix (Trader Joes or Whole Foods) – containing 1 onion (chopped), 1 carrot (trimmed and chopped), 2 celery ribs, (trimmed and chopped)
  • 1 lemongrass stalk, trimmed, smashed and minced
  • 3 garlic cloves, chopped – or about 1-1/2 tbs of already minced garlic
  • 1 Optional (1-inch) piece ginger, peeled and minced
  • ½ cup red wine (Cabernet Sauvignon or Zinfandel)
  • 3 cups beef broth (2 cups if only 4 ribs)
  • ½ cup plum sauce (¼ cup if only 4 ribs)
  • ½ cup soy sauce (¼ cup if only 4 ribs)
  • 2 sprigs thyme
  • 2 sprigs flat-leaf parsley
  • 2 bay leaves

Directions

  1. Heat oven to 325 degrees. Pat meat dry with paper towels. Season ribs all over with salt and pepper.
  2. Heat vegetable oil in a large Dutch oven over medium-high heat. When oil shimmers, add short ribs and brown on all four sides, about 2 minutes per side; transfer to a plate.
  3. Add mirepoix (onion, carrot, celery), lemongrass, garlic and ginger to the pot. Season with salt and cook, stirring often, until onion softens, about 5 minutes.
  4. Add in wine, beef broth, plum sauce, soy sauce, thyme, parsley and bay leaves and bring to a simmer.
  5. Return short ribs to pot, along with any juices, cover and slide pot into oven. Braise until meat is fork-tender, about 3 hours.
  6. Transfer meat to a plate. Use a ladle to skim the fat off the top of the braising liquid. Discard bay leaves and thyme stems. Season to taste with salt and pepper.
  7. Add short ribs and turn to coat in the sauce; set aside until you’re ready to serve.
  8. Serve short ribs in shallow bowls and top with a spoonful of sauce. Put remaining sauce in a bowl for the table. Enjoy!
  9. Serve with the rest of the red wine – and, likely, a second bottle! If there are leftovers, congratulations – as the ribs are even better warmed up tomorrow!

[First posted: February 26, 2018]